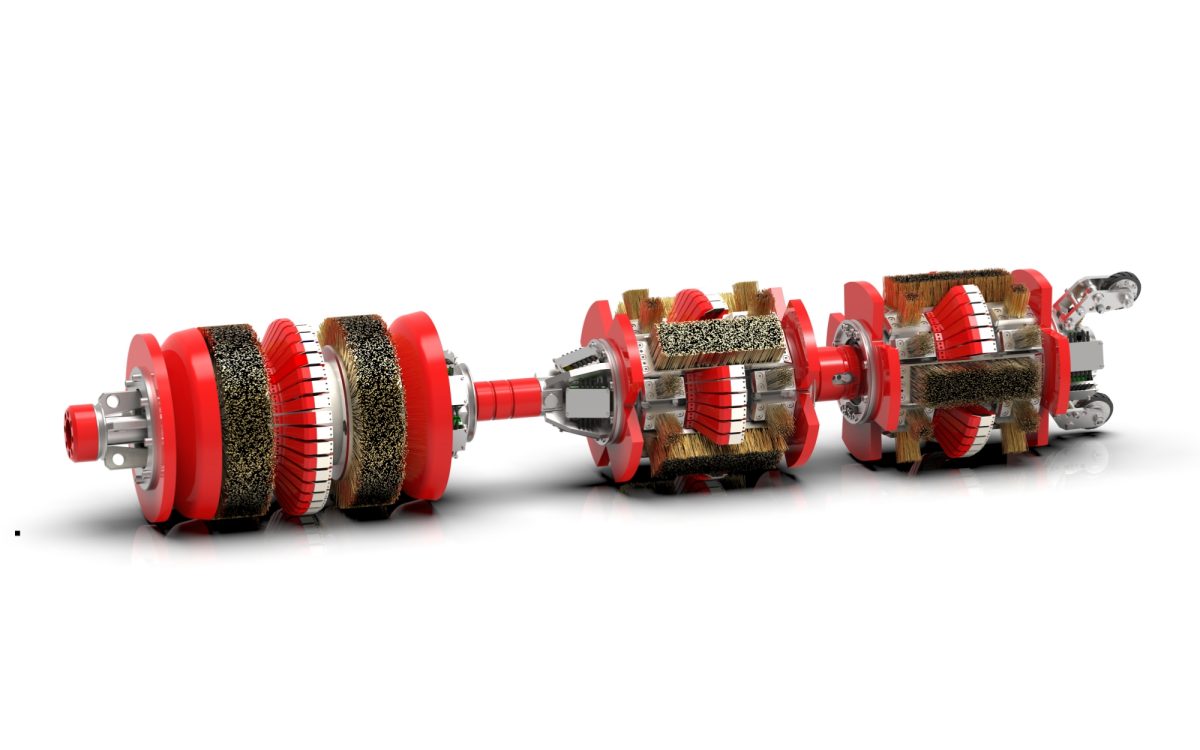
ULTRASONIC CORROSION EQUIPMENT FOR PIPELINE(UT)
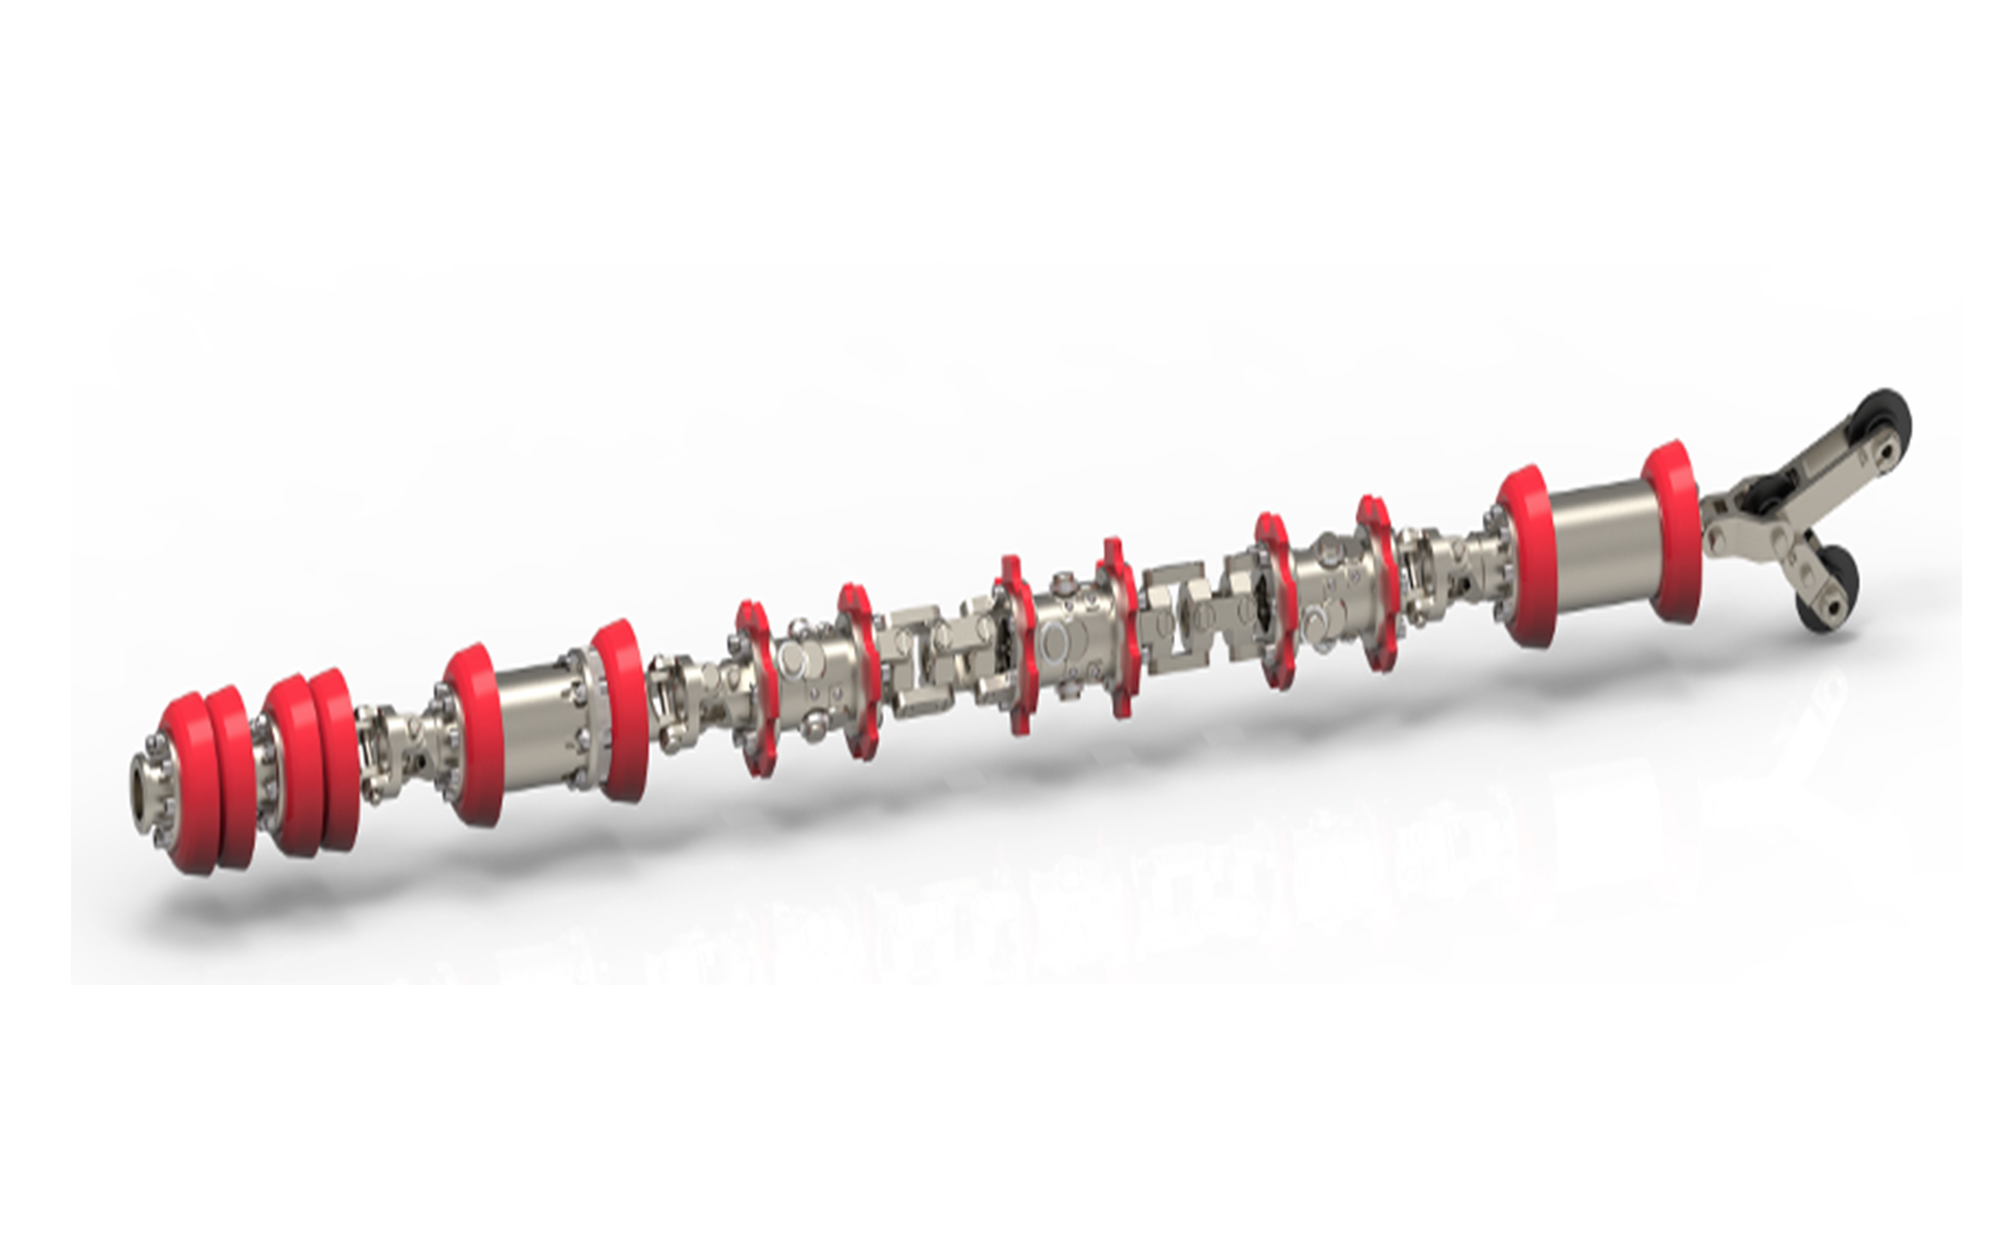
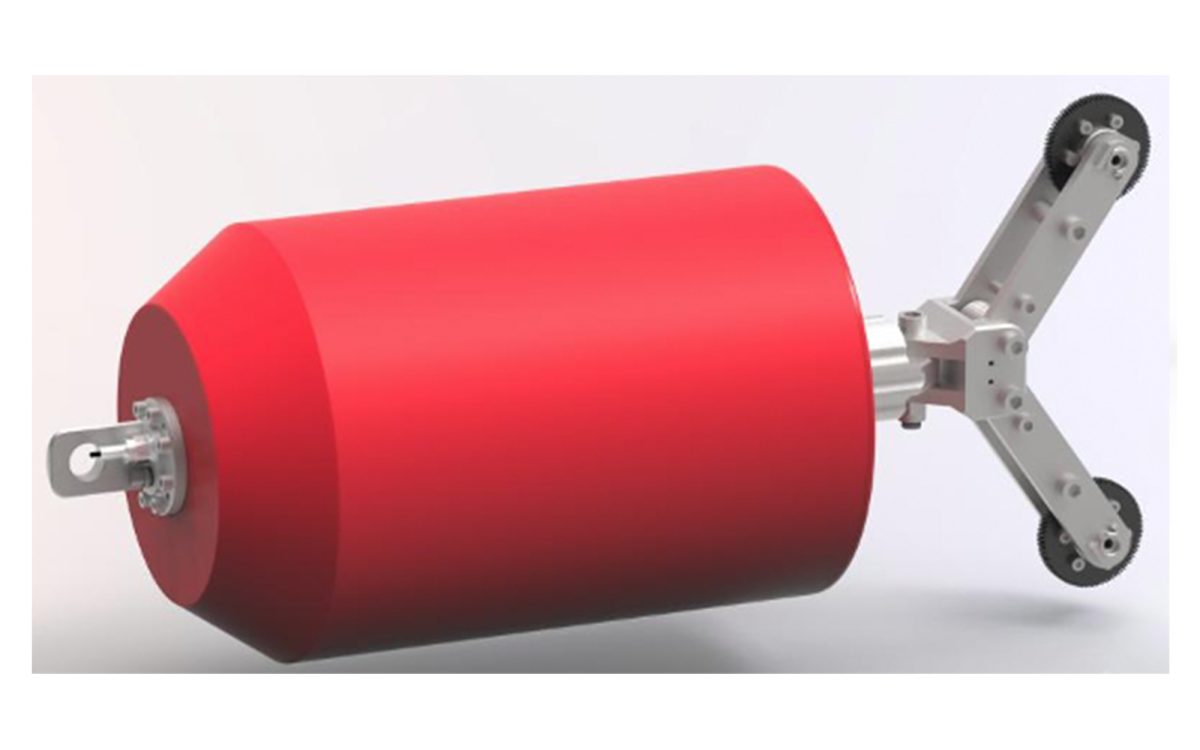
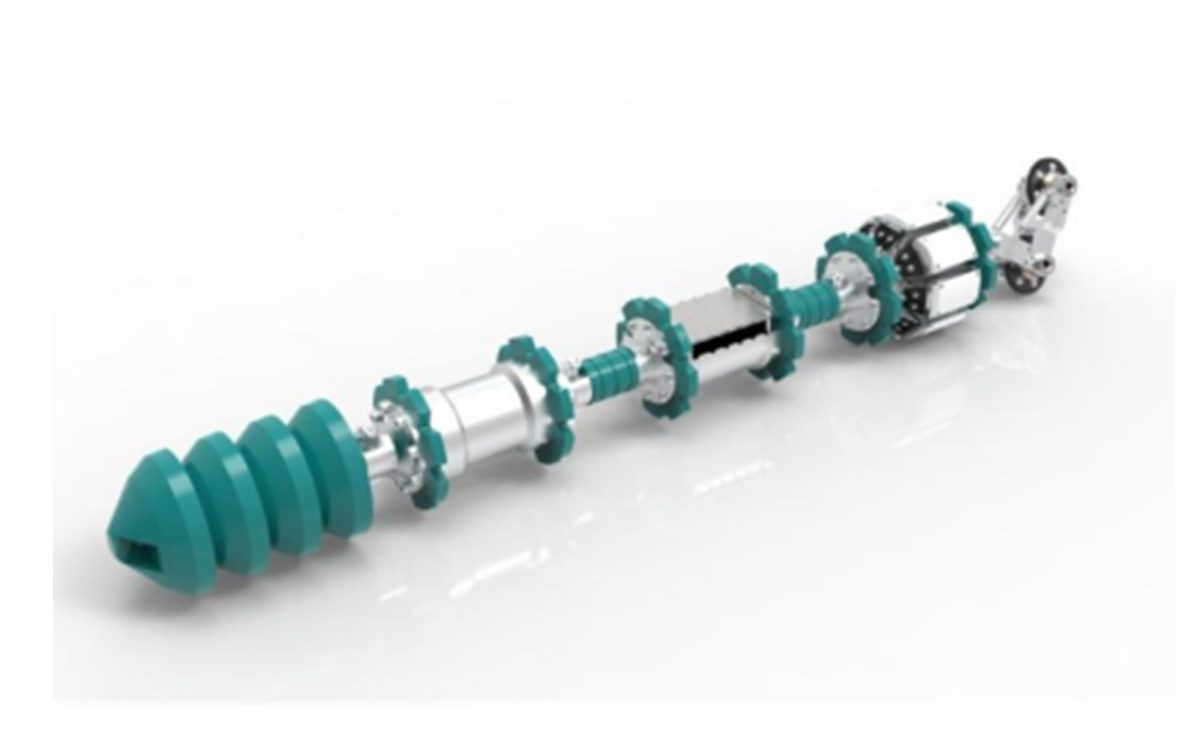
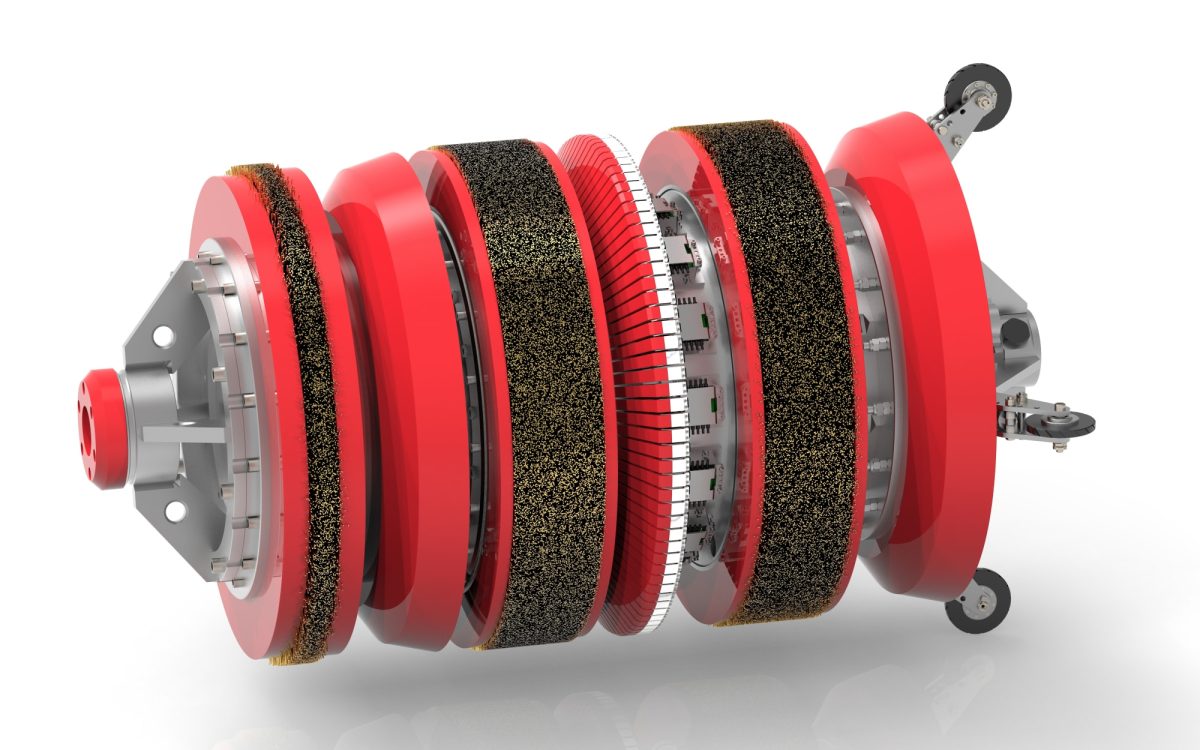
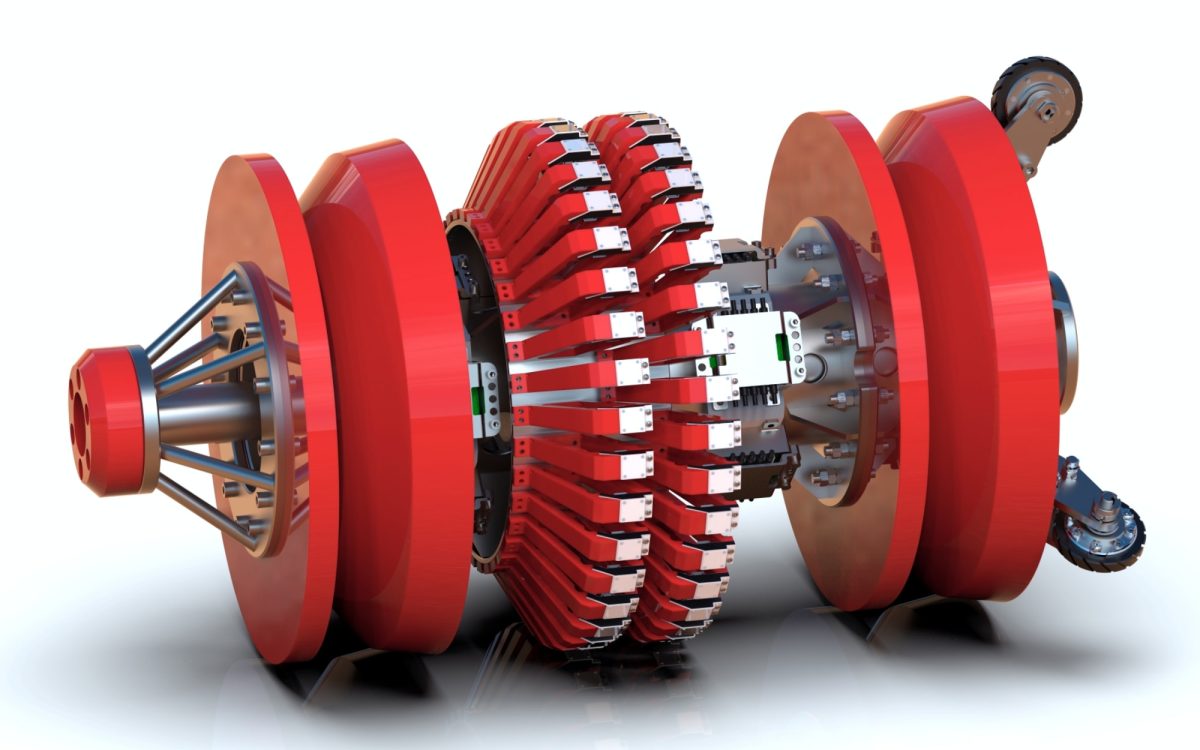
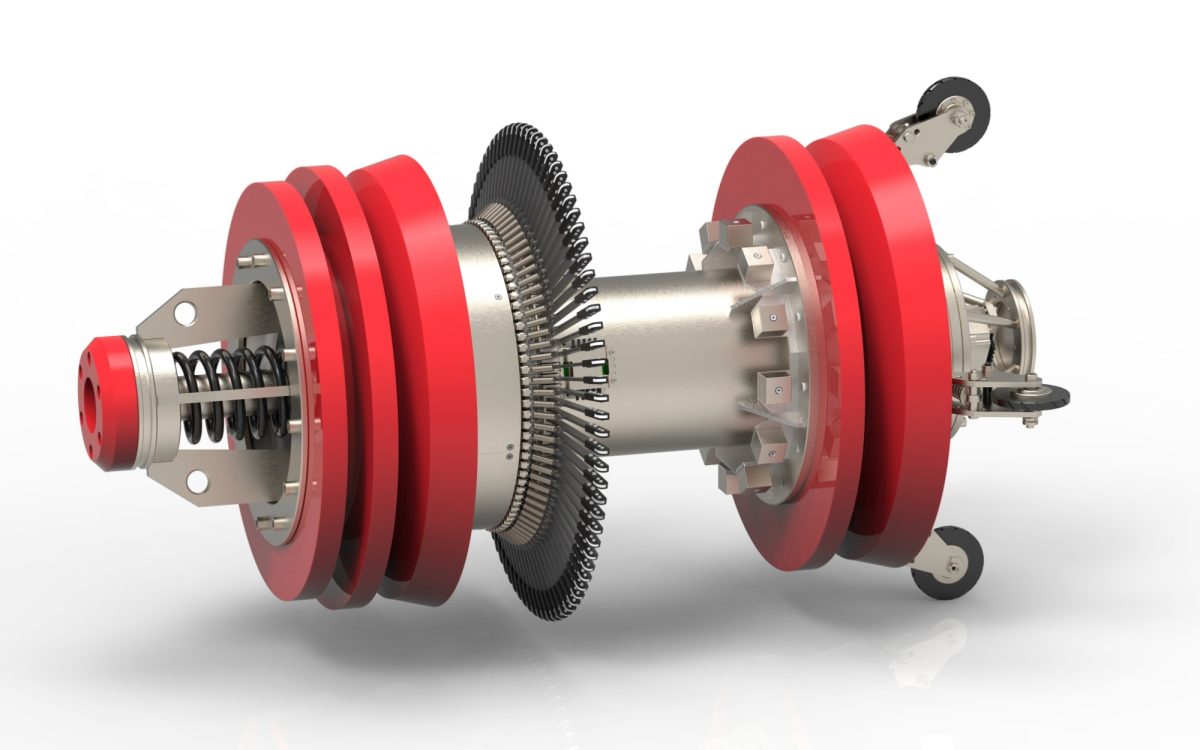
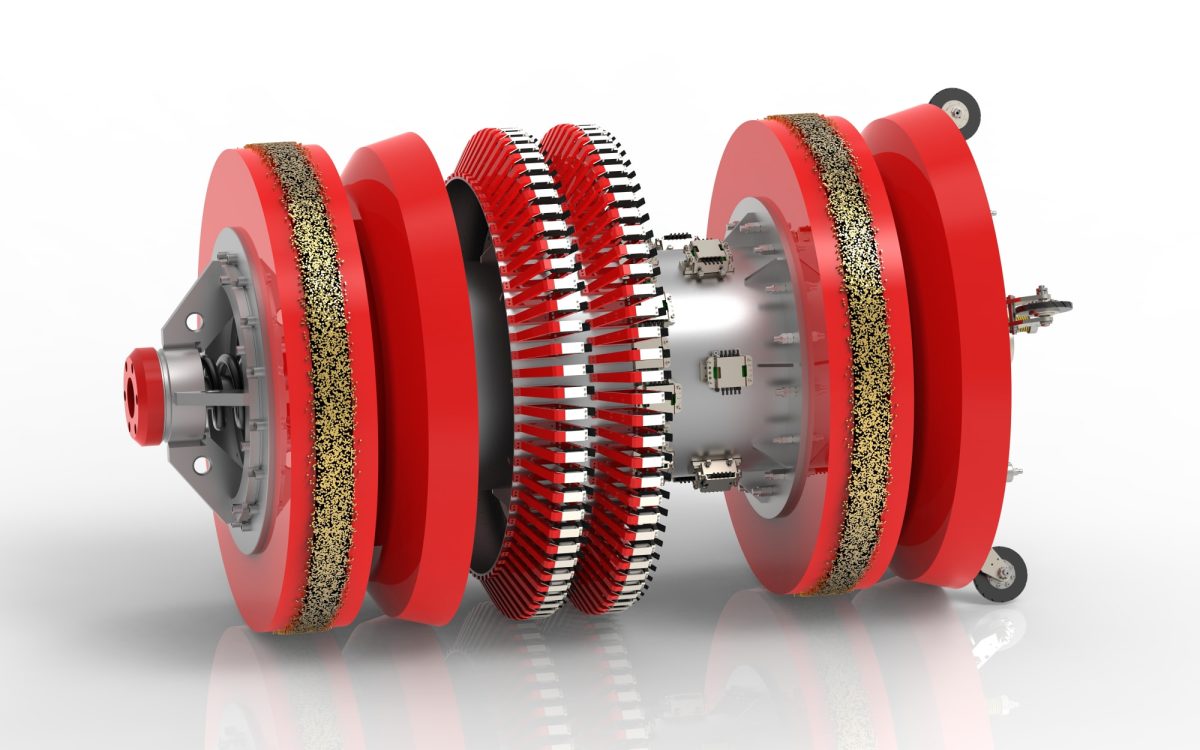
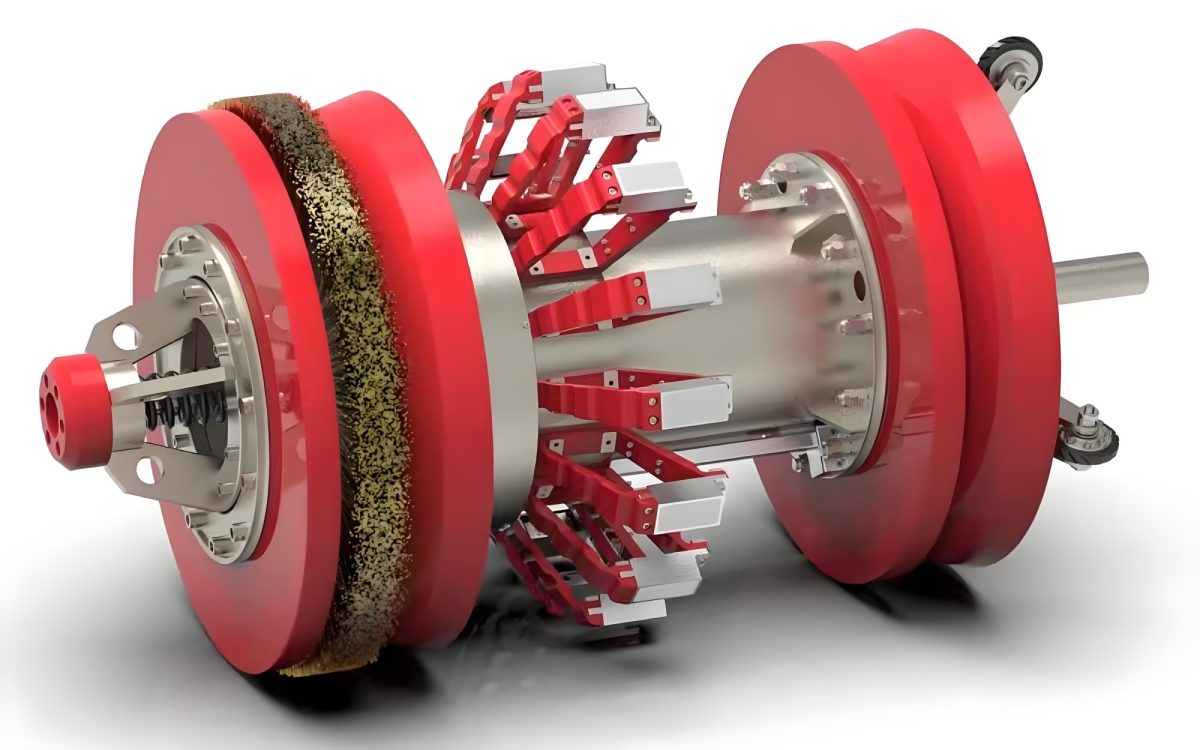
The UT for pipeline corrosion realizes the full coverage and high-precision intelligent detection of the size, position and distribution of pipeline corrosion by walking in the pipeline, which solves the technical problem that the corrosion of pipeline cannot be comprehensively detected. At present, our company has 6”-48” full diameter pipeline corrosion detection equipment, which have been successfully applied to the corrosion detection of various types of pipelines, making a comprehensive and accurate evaluation of the safety status of pipelines, and providing an important scientific basis for the safety and maintenance decisions of major equipment.
Introduction
The UT for pipeline corrosion realizes the full coverage and high-precision intelligent detection of the size, position and distribution of pipeline corrosion by walking in the pipeline, which solves the technical problem that the corrosion of pipeline cannot be comprehensively detected. At present, our company has 6”-48” full diameter pipeline corrosion detection equipment, which have been successfully applied to the corrosion detection of various types of pipelines, making a comprehensive and accurate evaluation of the safety status of pipelines, and providing an important scientific basis for the safety and maintenance decisions of major equipment.
Technology
UT sensor circumference spacing: 8mm
High-speed sampling: Axial sampling spacing < 3mm (speed < 2m/s)
Large-capacity data storage technology: single run time > 350 hours
Service Advantage
Integrity data management: Provide the original test data and all the test data to achieve lifelong integrity data management.
Exclusive customized detector: Customized detector according to the actual working conditions of the pipeline, which can realize the detection in the pipeline under special working conditions such as large deformation and variable diameter.
Analysis software lifetime upgrade and maintenance: free upgrade and maintenance of customer software, free software consultation.
Exclusive service engineer: professional answer to engineering problems on site, and can assist customers to solve engineering problems at any time.
Specs.
Technical Parameter
| Tool sizes available | 6”-56” |
| Pipeline product | Crude oil, refined oil, sea water, water, etc. |
| Product temperature range | 0 ℃-75℃ |
| Maximum operating pressure | ≤12MPa |
| Operating speed range | ≤2m/s |
| Minimum pipeline bend radius | 1.5D |
| Wall thickness range | 6-35mm |
| Maximum operating time | ≥200h |
| Maximum inspection length | ≥350km |
Corrosion Detection Accuracy
| General | Pitting | Axial groove | Circumferential groove | |
| Depth threshold POD=90% | 0.8mm | 0.8mm
Diameter:>5mm |
0.8mm
Width:>5mm |
0.8mm
Length:>5mm |
| Depth accuracy
80% Confidence level |
±0.4mm | ±0.4mm
Diameter:>10mm |
±0.4mm
Width:>10mm |
±0.4mm
Length:>10mm |
| Width accuracy
80% Confidence level |
±12mm | ±12mm | ±12mm | ±12mm |
| Length accuracy
80% Confidence level |
±6mm | ±6mm | ±6mm | ±6mm |
| Detection Capability | |
| The accuracy of depth measurement | ±0.4mm |
| The accuracy of surface and wall thickness | ±0.2mm |
| Longitudinal resolution | 3mm |
| Circumferential resolution | 8mm |
| The minimum detectable corrosion depth | 0.2mm |
| Minimum local corrosion dimensions to be detected are as follows:
Area indication and extent, no depth measurement: |
Diameter:10mm |
| Depth:0.8mm | |
| Full-depth measurement | Diameter:20mm |
| Depth:1mm | |
Axial crack detection Accuracy
| Crack detection- (POD>=90%) | |
| Minimum depth (in parent medium) | 1mm |
| Minimum depth (in girth weld) | 2mm |
| Minimum length (Minimum depth (in long seam)) | 25mm |
| Orientation to pipe axis | ±15° |
| Crack sizing |
| Depth sizing | for depth< 4mm | ± 1 mm |
| for depth≥ 4mm | reported as > 4 mm | |
| Length sizing | ±10mm | |
Circumferential crack detection Accuracy
| Crack detection | |
| Minimum depth (in parent medium) | 1mm |
| Minimum depth (in girth weld) | 2mm |
| Minimum length (in parent medium) | 20mm |
| Minimum length (in girth weld) | 30mm |
| Orientation to pipe axis | ±18° |
| Crack sizing |
| Depth sizing | for depth< 4mm | ± 1 mm |
| for depth≥ 4mm | reported as > 4 mm | |
| Length sizing | ±10mm | |
Positioning accuracy
| Axial positioning accuracy at Certainty = 90%. | The distance error between the feature and the reference girth weld is less than 0.1m, and the distance is the nearest reference point ±l*1‰ |
| Circumferential
positioning Accuracy at Certainty = 90% |
±5° |
| P.S:l—Calibration distance | |
Gallery
Introduction of Pipeline Inspection
Our professional internal inspection services are available for a wide range of oil and gas pipelines with different pipe diameters, and can address both macro-defects and micro-stresses.

