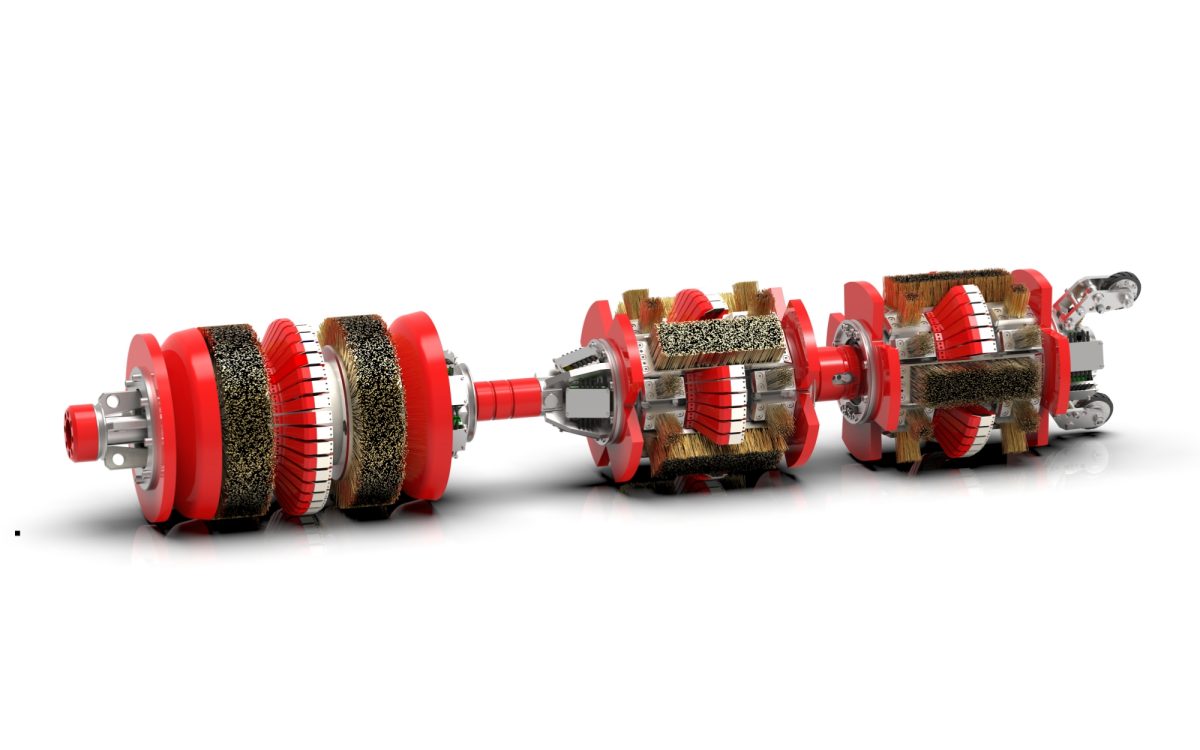
MFL
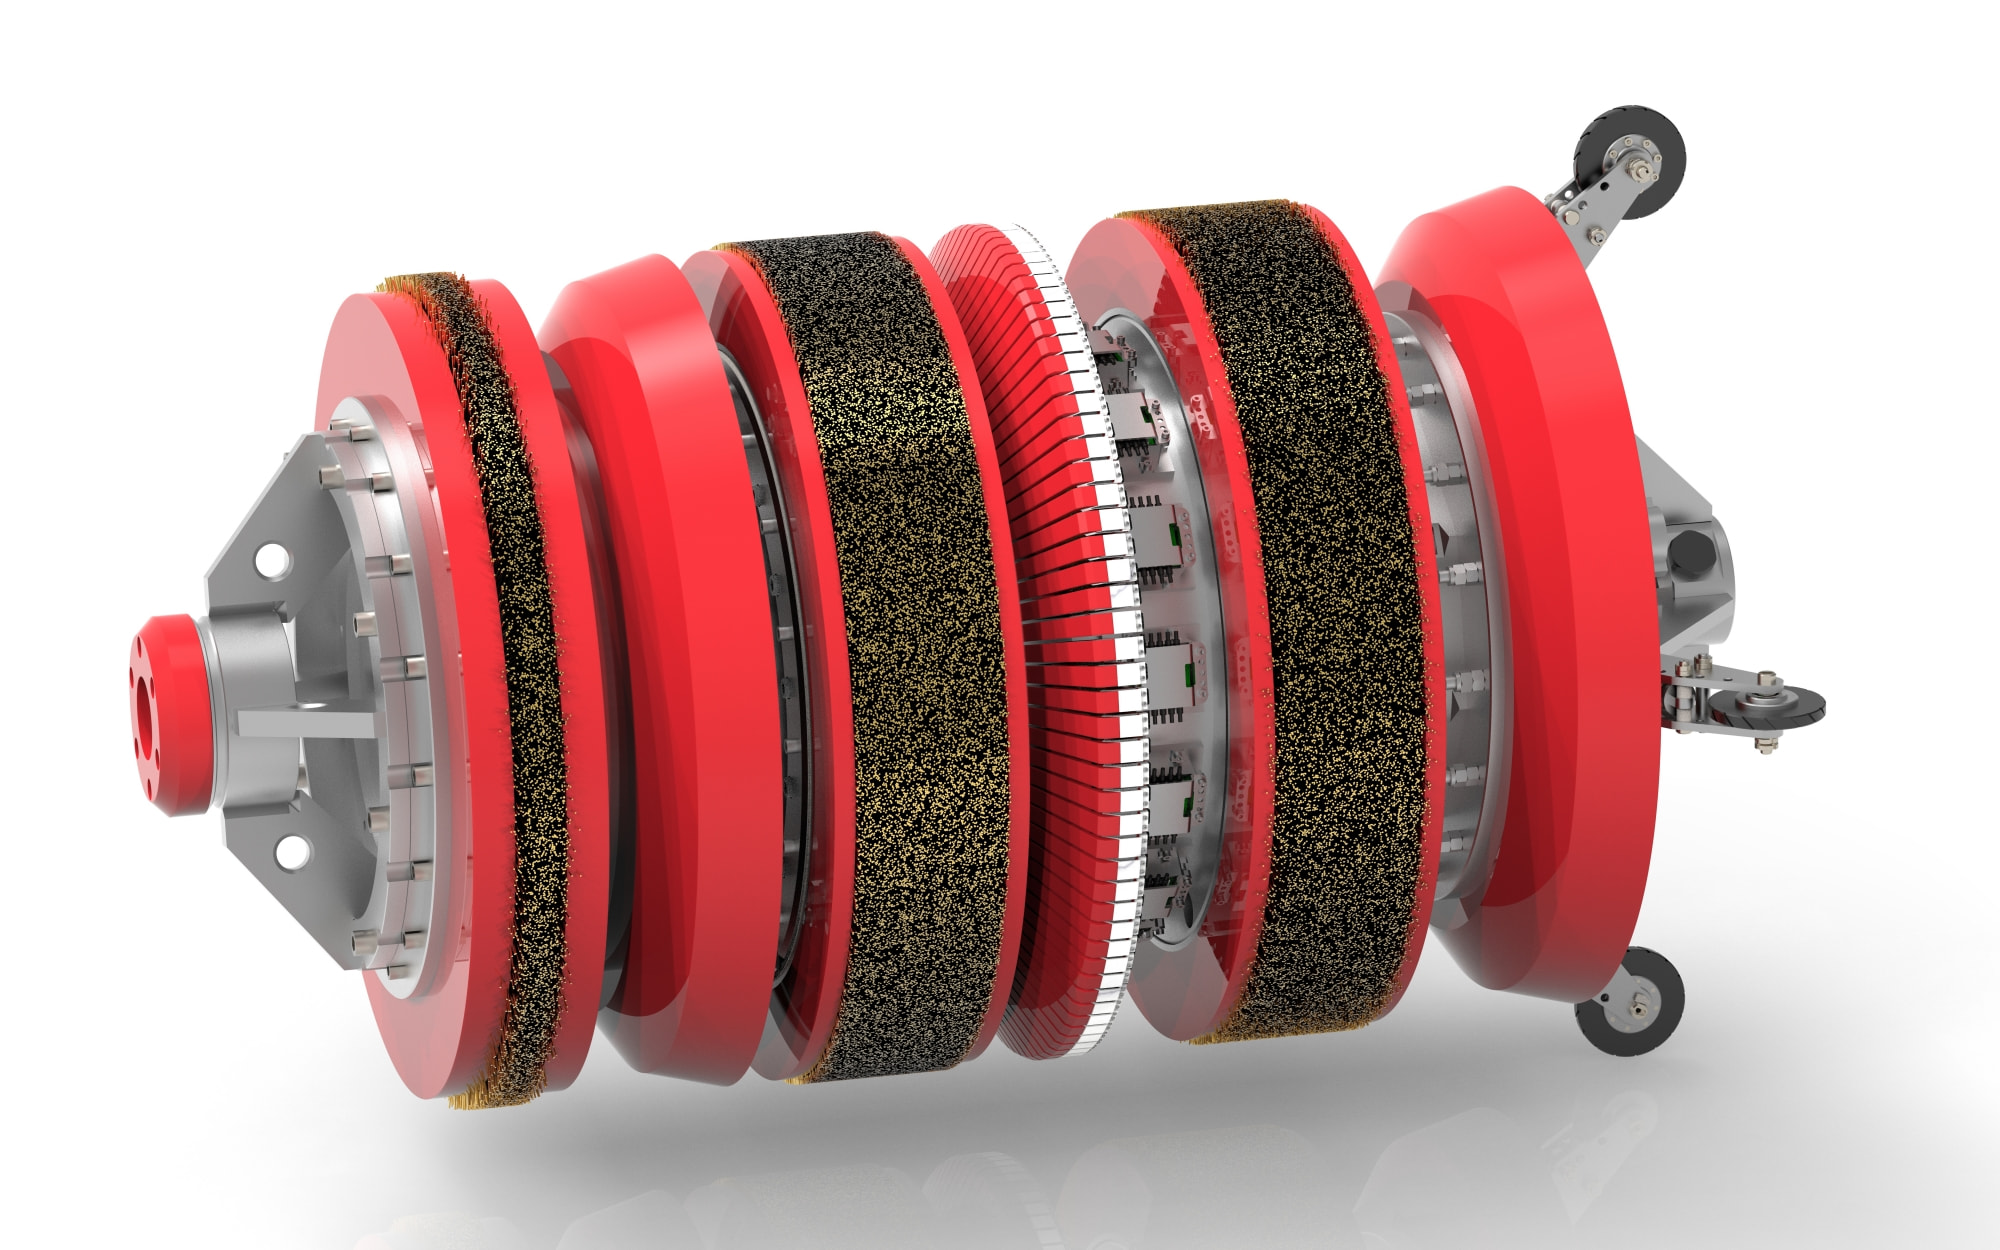
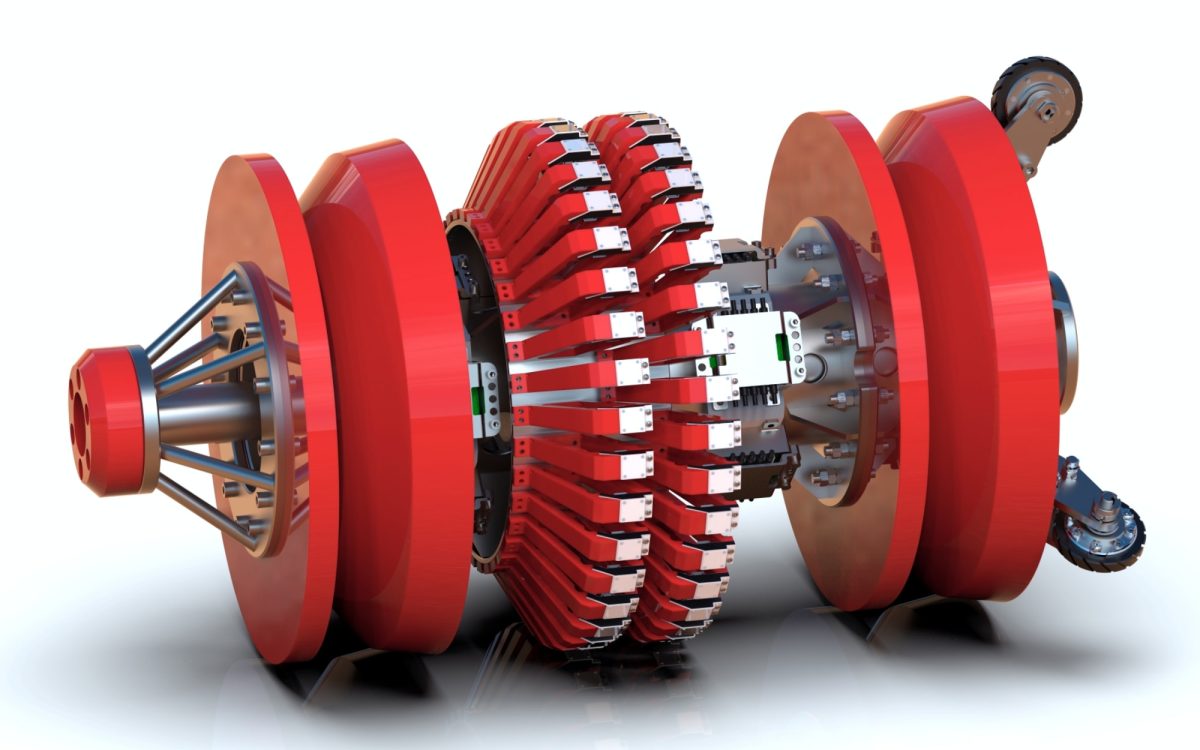
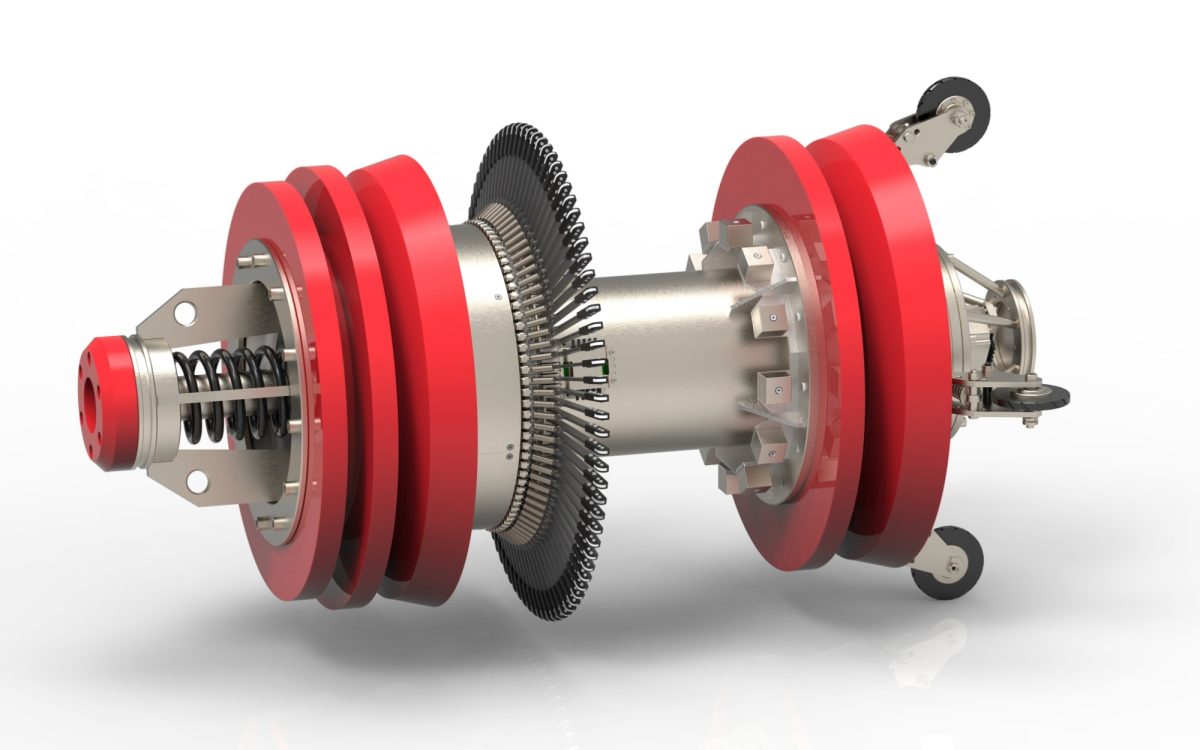
MFL can complete the detection of pipe defects, metal loss, pipe material changes, internal and external defect discrimination and pipe characteristics (pipe hoop, repair scars, bend, weld tee, etc.), and provide comprehensive information of defect area, depth, orientation, location and so on.
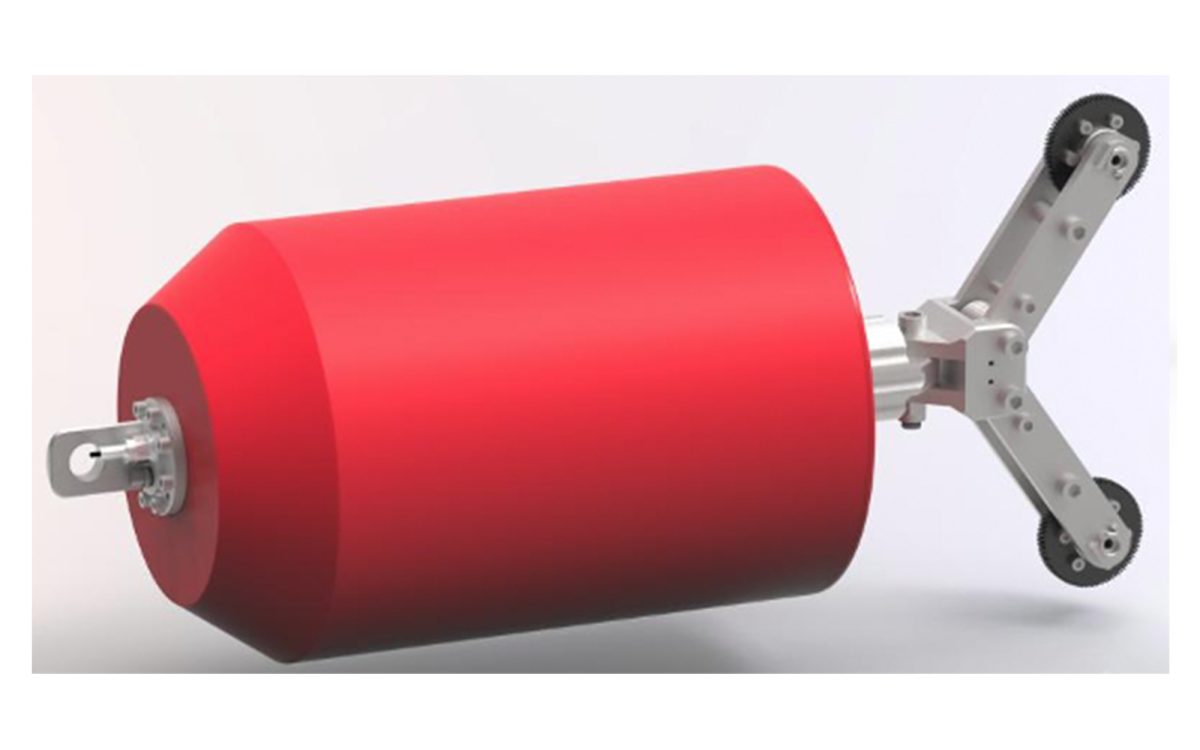
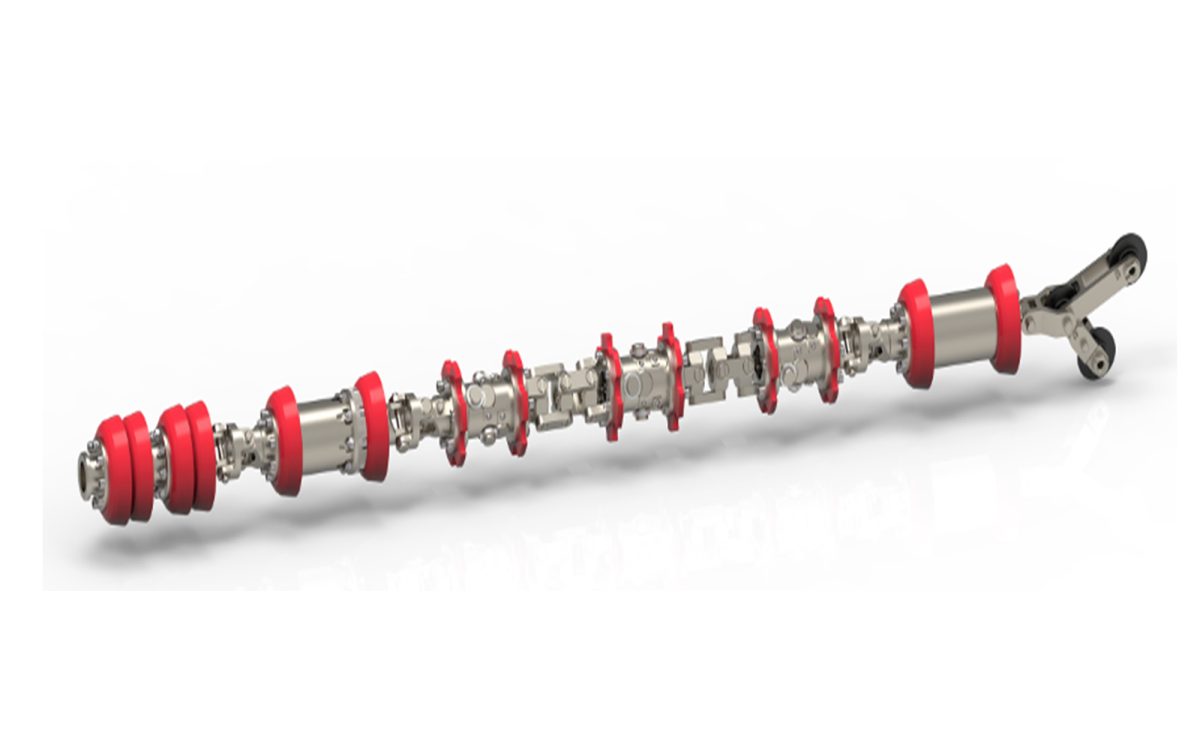
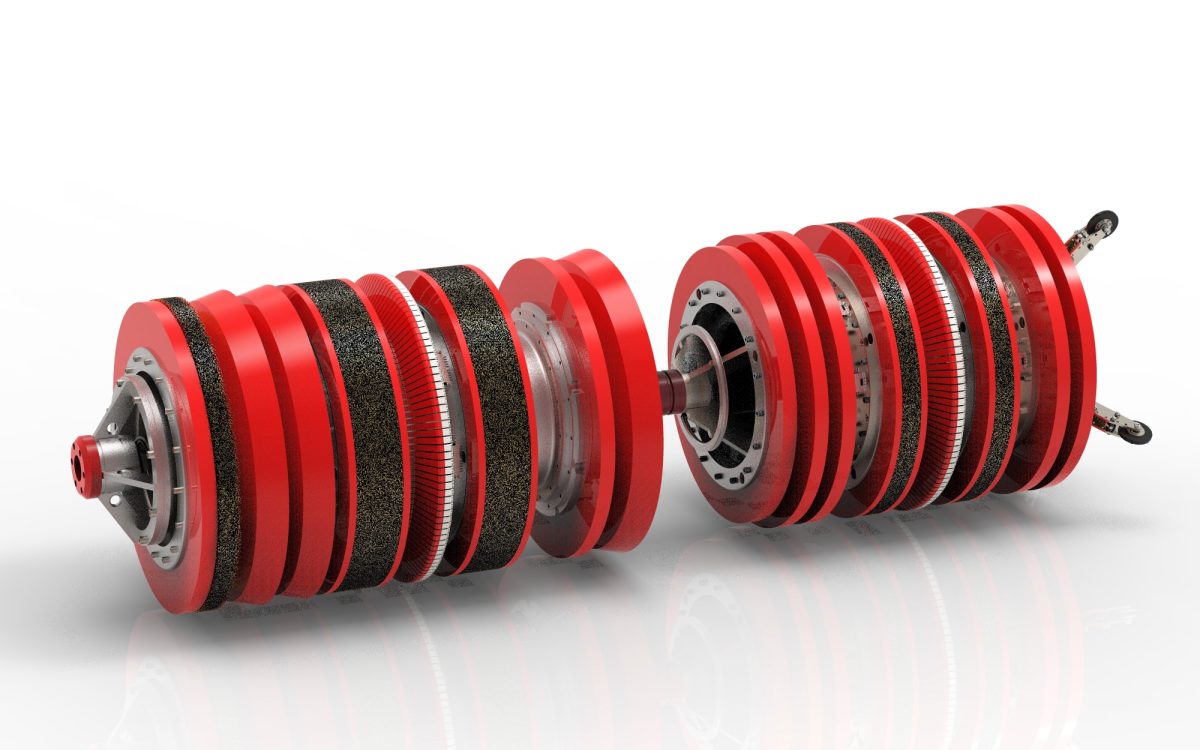
Our company produces and sells 6”-56” three-axis ultra-high-definition axial excitation magnetic flux leakage internal detector, above 28’’ series magnetic flux leakage internal detector with self-balancing speed control valve.
Introduction
MFL can complete the detection of pipe defects, metal loss, pipe material changes, internal and external defect discrimination and pipe characteristics (pipe hoop, repair scars, bend, weld tee, etc.), and provide comprehensive information of defect area, depth, orientation, location and so on.
Our company produces and sells 6”-56” three-axis ultra-high-definition axial excitation magnetic flux leakage internal detector, above 28’’ series magnetic flux leakage internal detector with self-balancing speed control valve.
Technology
High-definition:
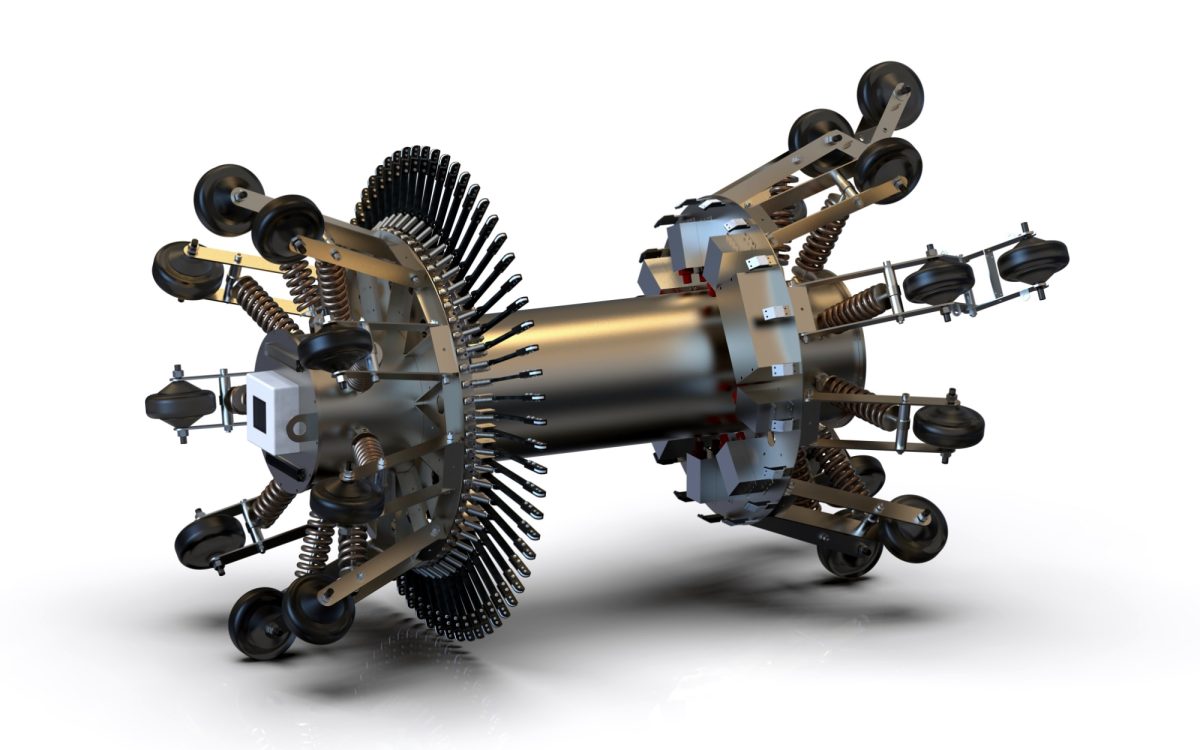
High density sensor layout: circumferential sensor spacing <2mm.
High-speed sampling: axial sampling spacing <1mm (when speed <5 m/s)。
Speed control system:
The speed control system is based on the principle of fluid mechanics, which automatically
adjusts the discharge flow rate and keeps the detector speed less than 4m/s.
Mass data storage:
Single runtime >200 hours.
Speed control system:
The speed control system is based on the principle of fluid mechanics, which automatically
adjusts the discharge flow rate and keeps the detector speed less than 4m/s.
Soft steel brush:
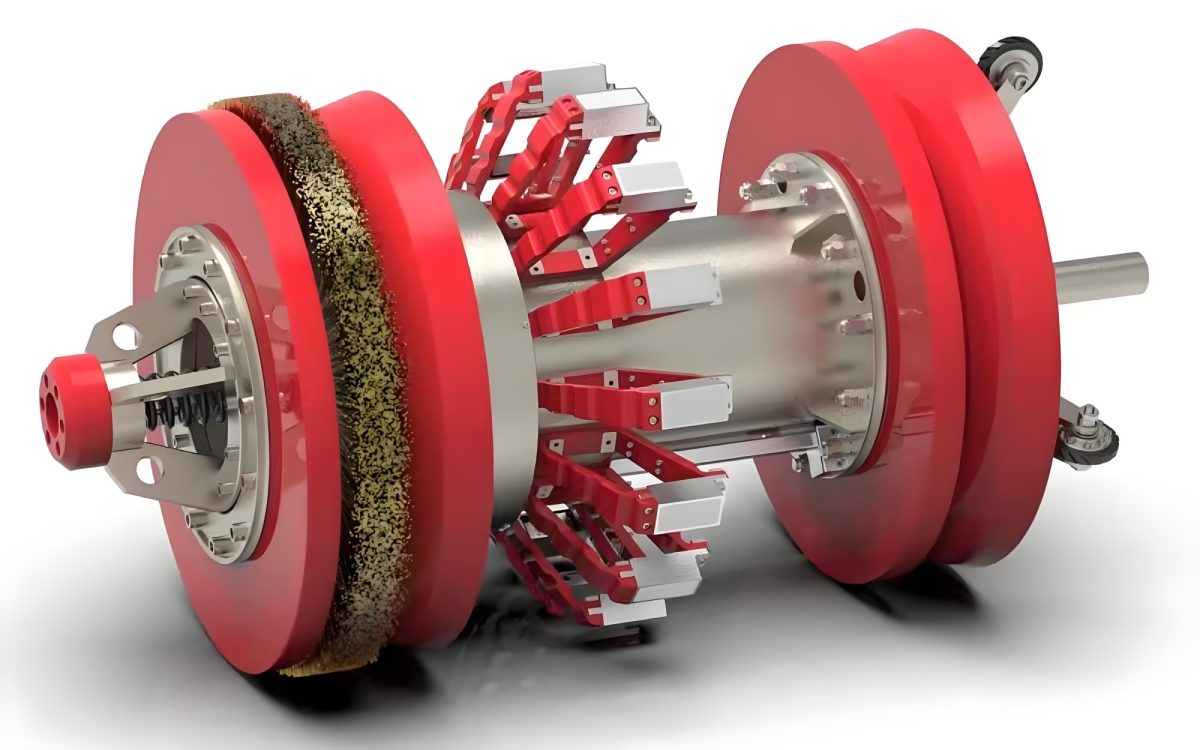
The soft fine steel brush will not damage the internal coating of the pipeline.4) Exclusive Service Engineer:
Provide professional answers to engineering problems existing on site, and can go to the site at any time to assist customers to solve engineering problems.
Service Advantage
Integrity Data Management:
Provide the original test data and all the test data to achieve lifelong integrity data management.
Exclusive Customized Detector:
According to the actual working conditions of the pipeline, the detector is customized, which can realize the detection of large deformation, thick-walled pipes, high sulfur content, large flow and other special working conditions in the pipeline.
Lifetime upgrade and maintenance of analysis software:
Free upgrade and maintenance of customer software, free software consultation.
Exclusive Service Engineer:
Provide professional answers to engineering problems existing on site, and can go to the site at any time to assist customers to solve engineering problems.
Specs.
Technical Parameter
| Tool sizes available | 6”-56” |
| Pipeline product | Crude oil, refined oil, natural gas,
sea water, air, etc. |
| Product temperature range | 0 ℃-75 ℃ |
| Maximum operating pressure | 12MPa |
| Operating speed range | ≤5m/s |
| Minimum pipeline bend radius | 1.5D |
| Wall thickness range | 4-32mm |
| Maximum operating time | ≥200h |
| Maximum inspection length | ≥350km |
Performance Specifications
| General metal-loss | Pitting | Axial
grooving |
Circum.
grooving |
Axial
slotting |
Circum.
slotting |
|
| Depth at POD=90% | 0.05t | 0.05t | 0.05t | 0.05t | 0.08t | 0.08t |
| Depth sizing accuracy
at 90% certainty |
±0.1t | ±0.1t | ±0.1t | ±0.1t | ±0.1t | ±0.1t |
| Width sizing accuracy
at 90% certainty |
±15mm | ±15mm | ±15mm | ±15mm | ±15mm | ±15mm |
| Length sizing accuracy
at 90% certainty |
±8mm | ±8mm | ±5mm | ±5mm | ±10mm | ±8mm |
Gallery
Introduction of Pipeline Inspection
Our professional internal inspection services are available for a wide range of oil and gas pipelines with different pipe diameters, and can address both macro-defects and micro-stresses.

